
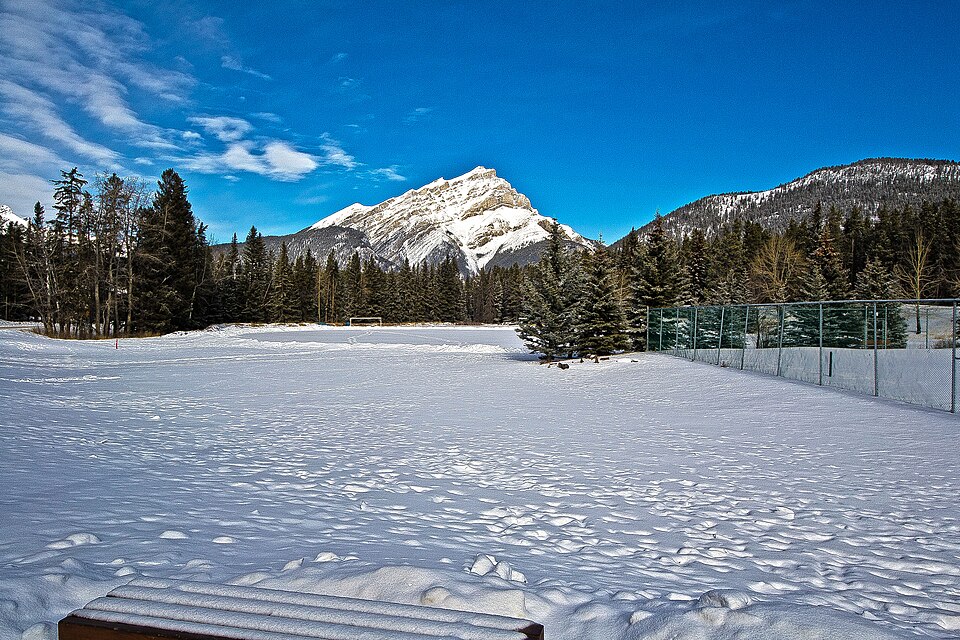
Choose a Banff winter walk from the designated winter information, then check what is open and suitable today. A trail's summer popularity, easy rating or proximity to town does not establish winter conditions. Keep the route, equipment and turnaround matched to the least experienced person in the group.
Start with three current checks
- Read Parks Canada's winter-walking descriptions for the actual route, activity and hazards.
- Check the current trail report and park bulletins, including the approach road and trailhead.
- Check weather, daylight, transport and whether the group has the skills and equipment for the conditions. Ask at a visitor centre if uncertain.
Choose a modest route, then a modest goal
Parks Canada's winter list includes Fenland Trail, Marsh Loop and Spray Connector among its walking options. Use the current description to choose one, rather than chaining several routes together. Check their reports individually: being named on the winter page is not a guarantee of clearing, grooming, firm footing or an open trailhead.
Begin with a short outing that can be turned around easily. Leave space for a warm break and an unhurried return. If a route needs a longer transfer or a crossing that the group cannot assess, choose another outing. For Lake Louise, use its separate winter-walking information rather than assuming a Banff-area description applies.
Traction helps with footing, not every winter hazard
Bring suitable winter footwear and ask about ice cleats and poles for the expected surface. Fit and practise using the equipment before leaving the trailhead. Slippery stairs, narrow paths and exposed edges can still exceed your comfort; turn around instead of assuming better traction makes every section reasonable.
Snowshoes serve a different purpose from ice cleats. If the snow is deep enough that walking damages a shared surface or becomes exhausting, ask about a suitable snowshoe route or choose another activity. Stay out of classic ski tracks and follow local signs for shared trails.
Avalanche terrain is a separate decision
Parks Canada warns that even short winter outings can enter avalanche terrain. A popular summer path, other people's tracks or a calm forecast is not a route assessment. Avoid any section or overhead terrain you cannot evaluate; seek qualified advice and the necessary training rather than following a general hiking article into it.
The current avalanche forecast is part of backcountry planning, not blanket approval of a trail. This guide does not classify a route as safe for your date and does not provide instructions for crossing avalanche paths.
What to carry and when to stop
Carry the layers, warm hand and head protection, water, food, headlamp, first aid and emergency supplies appropriate to the outing. Save a map and the relevant contact details offline. Tell someone the route and return time; do not assume mobile coverage everywhere.
- Set a turnaround before starting, leaving daylight and transport margins.
- Turn back for difficult footing, poor visibility, unexpected depth, fatigue or cold.
- Stay off frozen rivers and unassessed lake ice, including shortcuts that appear on other people's tracks.
- Give wildlife space and do not follow tracks towards an animal.
- Respect every closure even when others continue past it.
Make the whole day workable
Use our winter activity finder to keep another option available. Choose a base using winter stays, check road and vehicle arrangements where relevant, and leave time for town outings on days that do not suit a trail.
Sources and review
Reviewed October 28, 2026: Parks Canada winter walking, bulletins and Avalanche Canada. Current reports and on-site instructions take priority.
Enjoyed this guide? Get weekly Banff tips.